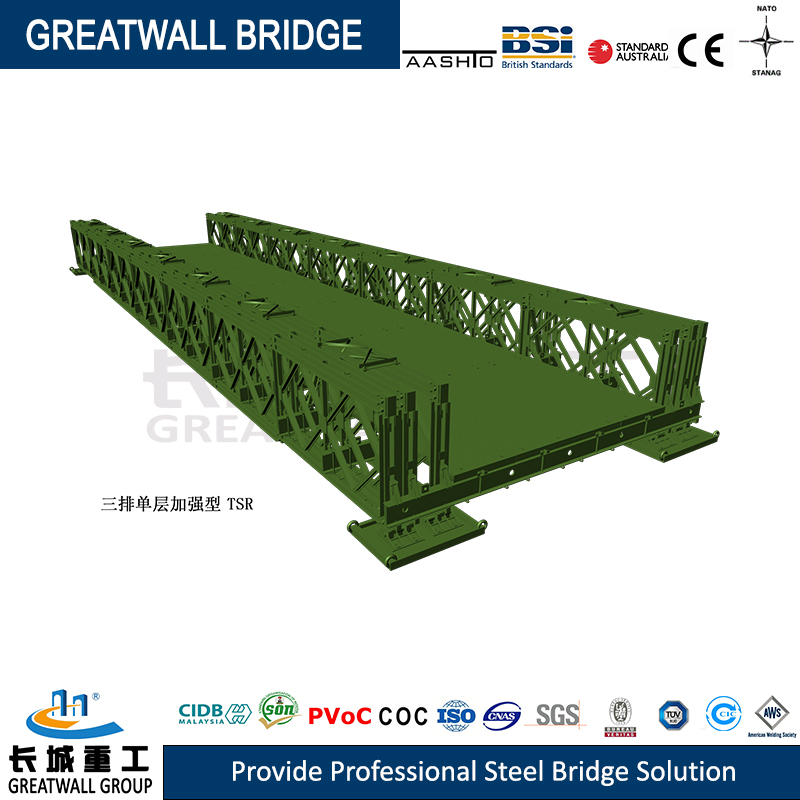
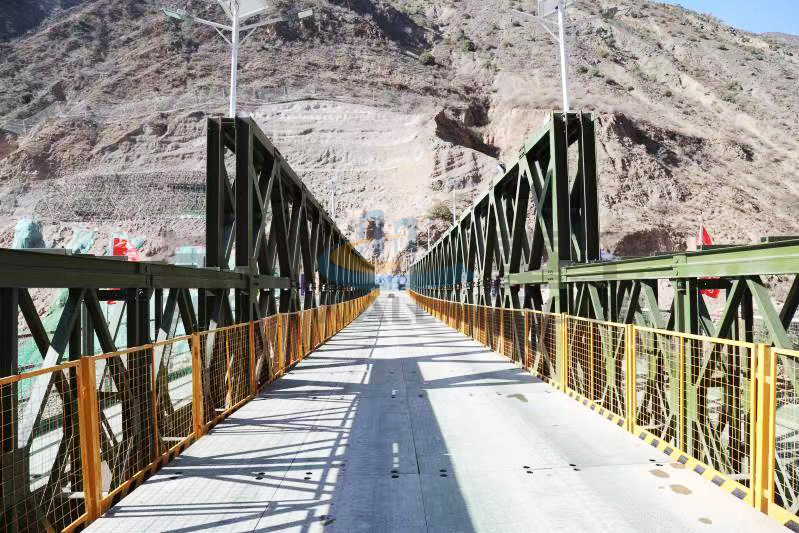
In modern transportation and engineering construction, Bailey bridges are highly favored for their rapid construction and flexibility. Among them, the HD100 Bailey Bridge stands out as a premier choice for numerous projects due to its exceptional load-bearing capacity and convenient installation process. This document aims at
present a detailed, step-by-step guide to the installation of the HD100 Bailey Bridge, providing valuable reference and guidance for professionals in related fields.
- Preparatory Phase
1.1. Site Survey and Planning
Prior to installation, conducts a thorough survey of the installation site to ensure that the terrain and foundation conditions meet the installation requirements. Simultaneously, plan the span and layout of the bridge according to actual needs, laying a solid foundation for subsequent work.
1.2. Material and Equipment Preparation
Prepare all components required for the HD100 Bailey Bridge, including but not limited to Bailey panels, truss pins, support frames, connectors, etc., Ensuring their quality and sufficient quantities. Additionally, secure necessary lifting, transportation, and installation equipment such as cranes, transport vehicles, safety ropes, etc.
1.3. Safety Measures Formulation
develops a detailed safety construction plan, clarify safety responsibilities, and conduct safety education and skills training for personnel involved in the installation to ensure safe operations throughout the process.
2.Installation Steps
2.1. Erecting Foundation Supports
According to the planned bridge layout, erect foundation support frames on both banks or designated locations. Ensure that the supports are stable and reliable, capable of withstanding the load of the bridge and traffic above.
2.2. Assembling Bailey Panels
On a flat surface, follow the design drawings and installation instructions to assemble the Bailey panels into truss units. Carefully inspect each connection for tightness and stability to ensure the overall stability of the truss unit.
2.3. Lifting and Fixing Truss Units
uses a crane to lift the assembled truss units to their installation positions and perform initial fixing. During lifting, strictly follow operating procedures to ensure the safety of personnel and equipment.
2.4. Connecting Truss Units
Use truss pins and other connectors to sequentially join the individual truss units, forming a complete bridge skeleton. Ensure accurate positioning and secure connections to avoid misalignment or loosening.
2.5. Installing Bridge Deck System
Lay the bridge deck system, including deck plates and guardrails, on the bridge skeleton. Pay attention to evenness and stability during installation, ensuring a smooth, safe ride and meeting traffic safety requirements.
2.6. Debugging and Acceptance
After completing the above steps, conduct a comprehensive debugging and inspection of the bridge to ensure that all indicators meet design requirements. Invite relevant departments to conduct acceptance tests to ensure that the bridge is safe for use.
HD100 Bailey Bridge Basic Information Table
| Model No. | HD100 |
| Usage | Over Water Bridge, Tractor Bridge, Pontoon, Footbridge, Public Iron Dual Purpose Bridge, Highway Bridge |
| Scale | Middle Bridge |
| Stress Characteristics | Truss Bridge |
| Material | Steel Bridge |
| Steel Grade | s355/s460/Gr55c/Gr350/Gr50/Gr65/Gb355/460 |
| Loading Capacity | Hi93/Ha+20hb/t44/Class a/b/Mlc110/Db24 |
| Bridge Deck Net Width | 4m/4.2m |
| Maximum Free Span Length | 51m=170ft |
| International Panel Dimension | 3048mm*1450mm (Holes Center Distance) |
| Transport Package | Transported By Container/Truck In Strong Packing |
| Specification | 3.048m*1.4m |
| Trademark | Greatwall |
| Origin | Zhenjiang |
| Hs Code | 7308100000 |
| Production Capacity | 100,000 Tons |
Note: The installation process of the HD100 Bailey Bridge, though intricate, is well-structured and systematic. By strictly adhering to operational
Post time: Sep-12-2024


